Looks like people wanted a tutorial on this topic, so here it goes. This kit got some attention at IMCF 2018 in Scone where I seemed to magically have what was needed at hand whenever it was needed.
Here’s the kit I use and the modifications. Note that all links to Amazon are affiliate links. I get a kickback if you use these to buy your stuff. It isn’t much but full disclosure…

What you’ll need:
- Belt Pouch
- Mini Carabiner
- EMT Shears
- 50 feet Paracord
- Bic style Lighter
- Sailor’s Knife
- Needlenose pliers
- Cloth Sports tape
- Gold Sharpie

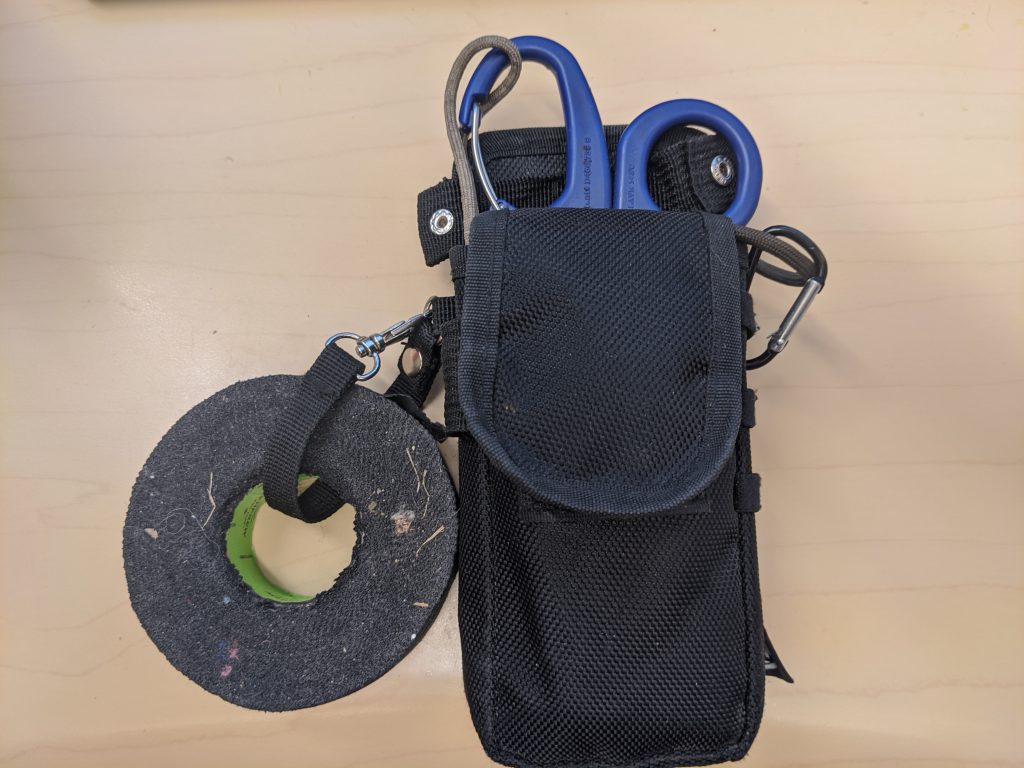
Belt Pouch: I’ve been using this EMT style pouch since the beginning. It works well for me, but the manufacture quality could be better. I’m looking at this one for an upgrade. The important things are that it holds all the tools and supplies you need and puts them in a convenient location. I keep mine on my left side (I’m a lefty.) on my belt. Some folks have other preferences. I’ve seen hip drop holster style bags and shoulder satchels, too.

Mini Carabiner: I use one., clipped to my pouch. The gates break frequently. I get about 3-6 months out of each. Here’s a link to a package of 30. I like adding “dummy cords” to my things so I don’t lose them. This also marks my stuff as mine so it won’t get lost. The mini carabiners attach the cords to the pouch.

EMT Shears: The ones that came with my pouch were junk. I bought a pair that had a carabiner built in. I use the shears mostly for cutting arming point ties, both from a length of cords and to get them off in an emergency. The carabiner handle also lets me attach a lighter so I can melt the ends if I’m using paracord.

Paracord: No, it’s not the best cord to use for arming points, but when you’re in a hurry, it works and it is pretty cheap. Nadler Metal Crafts likes ties made from Dacron. Jaye Brooks likes just the outer sheath of the paracord. Some people like shoe laces. I like tarred hemp marline (6/1 in 4mm). There are a lot of options, but for fast repairs, paracord is a good, cheap compromise. I use the stuff a lot for general utility, so I like the idea of buying it in bulk.

Bic Style Lighter: This is your generic disposable cigarette lighter. I modify mine by taping a loop of paracord to the sides so I can clip it to the EMT shears for easy access. Here’s a link for a pack of 50 for your team.

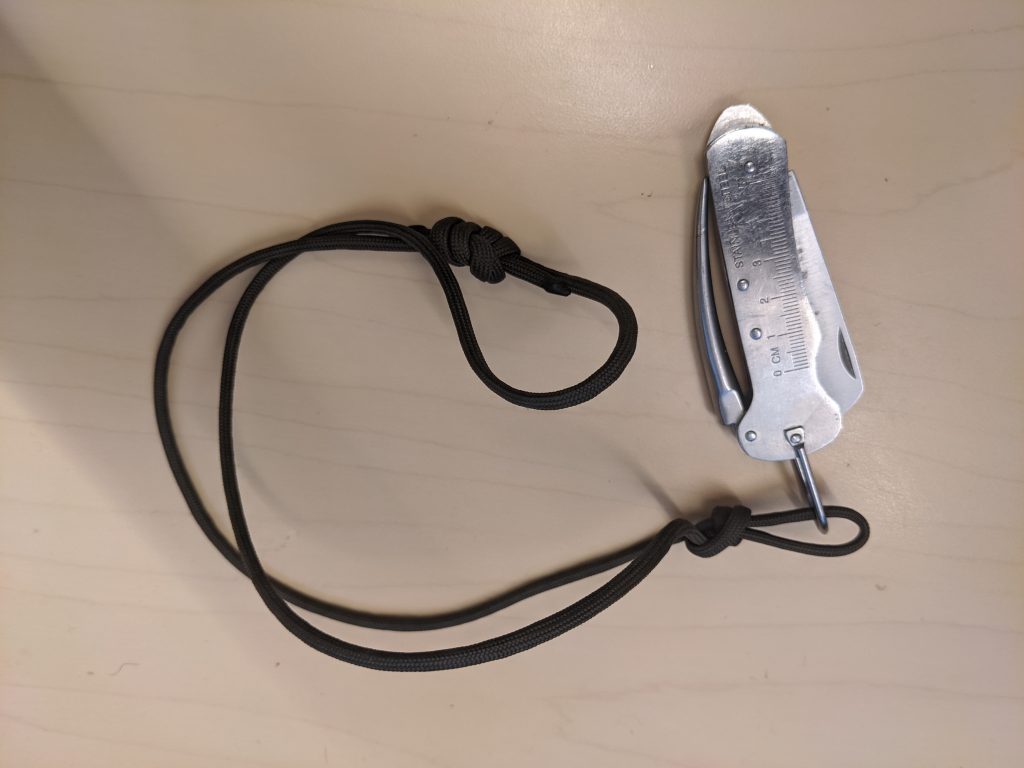
Sailor’s Knife: You can really go overboard with this if you want, but here’s a really affordable one I found on Amazon. The key here is a small folding knife (so the police don’t give you a hassle in places like Massachusetts and New York) that also has a marlin spike – a metal spike, usually slightly curved, on the back. You can use this to poke and work holes in cloth gambesons and to get tight knots loose in arming points.

Needlenose pliers: You can find these in any hardware shop, but here’s 2 pair for a decent price. You wand 4-6″ size. Like the marlin spike, these are uses to get out tight knots, but also to bend metal bits (that brass trim that won’t stay on through a fight), or hold a piece of armor while you drill.

Cloth Sports Tape: This is the stuff commonly used to tape hockey stick handles. I buy it by the 6-pack. Use it to tape armor on if you don’t have time to fix a strap. At least it’ll get the fighter on the field. I also use it to attach cords to my tools. This stuff is allowed to be used on weapons handles and is great in that it is durable, won’t stretch, and is also pretty easy to tear. You can tie a loop of cord to clip the tape to your carabiner. My original pouch came with a cloth loop that clips to itself to hold a roll of medical tape that works great.

Gold Metallic Sharpie: I use mine to mark where holes go, measure where to cut, and where something needs to be attached. I use the gold ones because they show up on the often black cloth of padded arming garments and while the marks won’t last long, they can usually be made to leave a temporary mark on steel, too, if you carefully wipe the oil off first. Here’s a link for a box of a dozen. I will sometimes also attach a cord to the body and cap so I can clip them into my kit and won’t lose the cap.
When you’re prepping to help out at a fight, cut a bunch of pieces of paracord for arming point ties. I cut mine about 10-14 inches. Melt the ends and roll them into points to make it easier to get into the holes. This isn’t as good as real metal tipped arming points, but it is a lot better than fraying string.
You’ll notice I have a loop of cord on most items. I can clip them to a carabiner or loop another piece of cord through them for a dummy cord. Remarkably, despite heavy use, this is even the same Bic lighter I had in Scotland, so if you don’t lose them they should last a while. The loop helps you not lose them.
You’ll want a couple dozen cut ties handy. I take the remaining paracord and wrap it into a ball or hank and stuff it in the bottom of my pouch. The pre-cut and melted ties get stuffed on top. The knife goes in a pocket with the cord hanging out so I can fish it out quickly. The shears get the lighter clipped in and stuffed in the quick draw pocket. The tale has it’s end started and clipped on to the side of the pouch. Bam. Good to go. Pouch goes on my left hip. A water bottle in each cargo pocket (or sometimes I’ll be lazy and wear a Camelbak…).
You can see the whole list of things I’m suggesting here.


